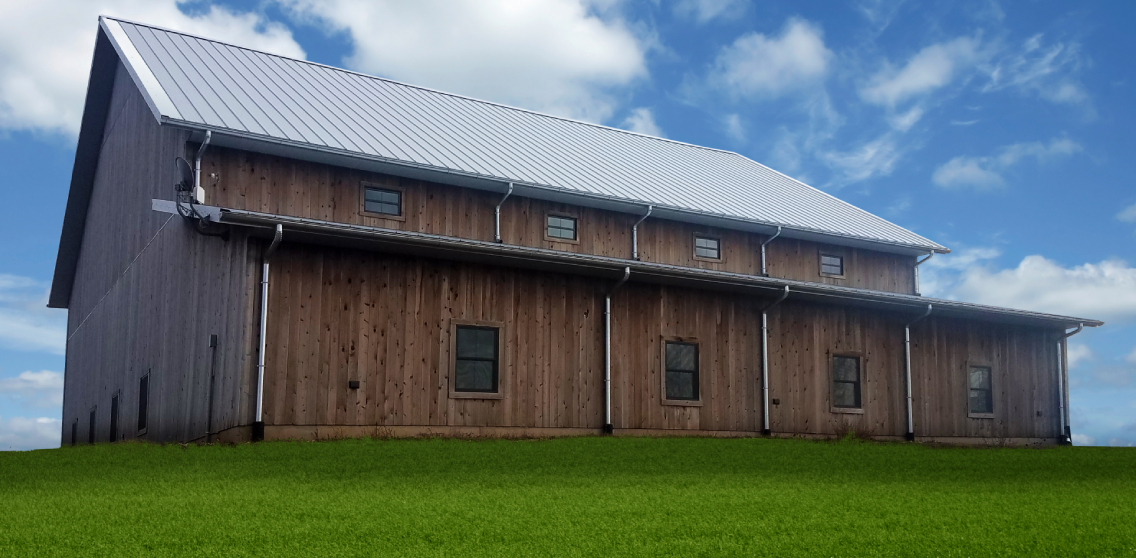
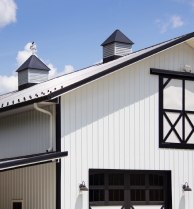
Learn more about the installation of hip caps by watching the short video or reading the transcript below:
Now that we’ve installed panel on both sides of the hip, we can install the hip cap. We’re going to install it using Z trim, and you have the option of using either pop rivets for a hidden fastener application, or you can use stitch screws for an exposed fastener application. Today, we’re going to be using pop rivets for a concealed fastener installation.
First, we’re going to position the hip cap so that I can mark the tops of the ribs with a Sharpie, which will tell me where to put the Z trim. Next, I’ll remove the hip cap, get our Z trim, cut them to length, and install them. In the same way that we use Z trim for the installation of end wall flashing and sidewall transition, we’re going to do the exact same thing here on the hip. Here I have a longer length. I’m going to put it in place by lining it up about a half-inch behind the marks that I made with the Sharpie. I’m going to get it into place and make cut lines. Remember, Z trim must be cut at an angle on the hip trim.
Now that the Z trim’s been cut, as always, we apply tape seal to the bottom of it before installing it. We’ll take the backer off, and as you can see, I always leave half an inch between the outside edge and the tape seal so that when it gets fastened down, it doesn’t squish out and become visible to people looking up at the roof. As always, we set it back about a half an inch from the line, just like so, so that we’re sure the Z trim won’t be visible when we put the hip cap on. I’m going install these using pancake head fasteners, and, once that’s done, we can install the hip cap.
I just installed the last piece of Z trim and now we’re ready to install the hip cap. First, we’re going to put the hip cap in place and mark it so that we can prepare the end here at the eave and the top at the ridge. We’re going to get the hip cap in place and let it overhang at the eave so that I can make marks and bend it down. This closes it off for a nice finished look where the two joints at the eave are. Now I’ve marked the top side of the hip cap in line with the eave, and I’m making a quick mark underneath where the two eaves meet so that I can join those lines and fold it down.
I made a mark here on top and another mark over here to show where the eave terminates, and then we went underneath and marked here to show where the two eaves join at a 90-degree angle. I now have to join this mark with the two marks that I made on the top, and those will become my bend lines so that we have a nice, clean finished hip cap. These lines become my fold lines. I’ll add two inches to those lines and join them. The two-inch line becomes our cut line, and the original line becomes our fold line. I’m going to cut off the excess and fold this down, then we can bring the cap back so that we have a nice closed finish.
Now we have to fold these two. They’re two inches long, which means they’re longer than the depth of our hand bender. Here’s a tip: if you want a crisp bend, you can gently score the metal using a razor blade. We’ll go ahead and do that. I’m very, very gently scoring the metal. If I score it too much, the paint will crack on the other side, so I’m just doing a quick pass or two.
Now that this has been scored, I can bend it by hand. Using my straight-edge as a guide to bend across, I’m going to place the heel of my hand underneath. I’m going to bend this up, and the score in the metal that we did with the razor blade makes a very crisp bend. As you can see, this piece is longer than the other tab, and I’m going to fold it across.
We’ve finished the eave end of the hip cap, so we’re going to temporarily put it in place so that we can mark at the ridge line, do a couple of quick cuts, and then come back and install it. We’ll put it in place, just to make sure everything fits and to make our marks. We can see that it’s nice and clean here at the bottom. We’re going to hold it in place, and I’ll make a couple of marks at the ridge line, cut it, and then we can install it. I’m marking here along this ridge and along this ridge. Then we can cut that off and install it.
Now that we’ve finished preparing the eave end and the ridge cap ends of the hip cap, we can install it on top of the Z-bar using pop rivets. Before I do that, we need to apply tape seal along the top of the Z trim. I’m installing tape seal along the top of our Z trim, making sure to keep it back from the leading edge of the Z by about half an inch so that it doesn’t squish out. I’m going to drill holes and install the pop rivets.
When you’re drilling the holes for your pop rivets, make sure that you don’t punch through and put a hole in the panel surface, because the drill, as it’s spinning, is going to pull you down. As you feel yourself go through the last layer of steel, ease off a little bit on the speed of the drill. Now that the pop rivets have been installed, the hip cap is finished and we can move on with the rest of our project.
Contact one of our installation experts for tips on how to install your ABC metal roofing panels.