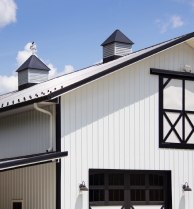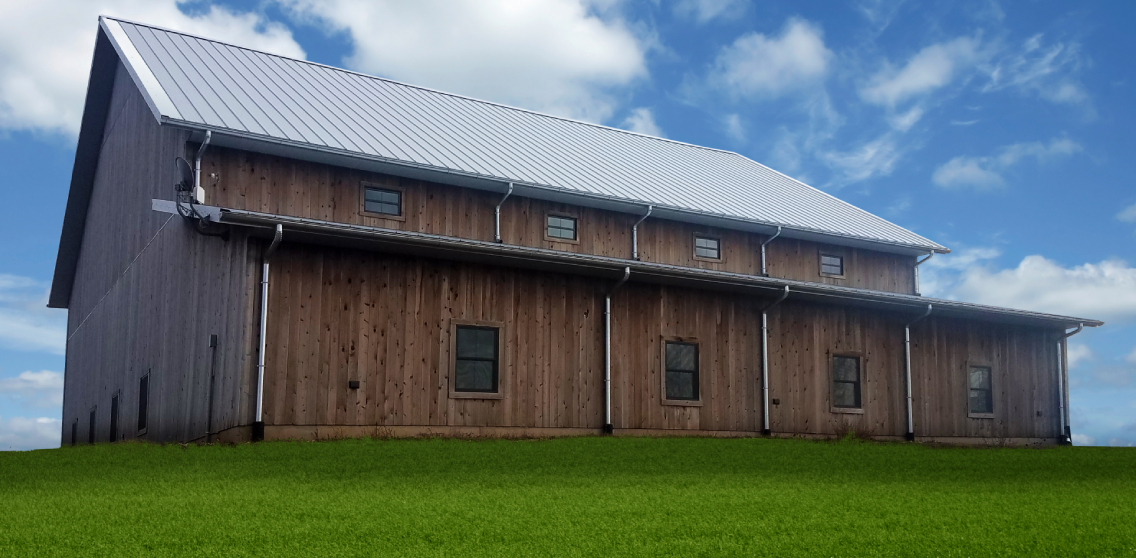
INSTALL PITCH TRANSITION TRIM FOR METAL ROOFING
To ensure you and your customers have the resources needed to get the job done, we’ve developed instructional videos that show your customers how to seamlessly integrate pitch transition trim with our SL-16 concealed fastener metal roofing system.
Before your get started on the installation, you’ll need to make sure you have the necessary tools:
- Drill & Drill Bits
- Metal Snips
- Pencil or sharpie
- Pop Rivet Gun
- Tape Measure & Straight Edge
Learn more about the installation of pitch transition trim by watching the short video or reading the steps below.
Pitch Transition Trim Overview
Something that occurs often with metal roofing is that you’ll have a pitch or slope change . Any time an area of the roof changes pitch from peak to eave, you will need a transition trim to flash the area of panel break between the two pitches. A steeper pitch at the peak, with a lower pitch at the eave is called a lower gambrell condition. Conversely a lower pitch at the peak and a steeper pitch at the eave is called an upper gambrell.
The pitch transition flashing or the pitch change trim is what allows you to join the break in panels of the upper and lower roof areas. This allows water to flow off the upper panels, out over the trim, onto the lower panels and exits the roof at the eaves.
In our example, the lower slope roof already has metal panels on it and the Z-trim has been installed. A note about the Z-trim: be sure the vertical legs of the Z-trim are caulked with a urethane sealant to fill any void between the trim and panels. The Z-trim will need to be field cut to in between the major ribs of the panels.
Pitch Transition Trim Installation
The piece that allows us to join the two different slopes is the pitch transition trim. We’re going to install it over top of the panels that have already been installed on the lower slope. You’ll install the pitch transition trim using Z-trim.
- First, make sure to use tape sealant in between the flashing and the top of the Z, and in between the panel and Z-trim.
- Then use pop rivets for a concealed fastener to attach the transition trim to the top of the Z.
- You’ll then install an offset cleat on top of the pitch transition trim so that you can clip your upper panels into it. When installing the offset cleat, be sure to put tape seal between the cleat and the transition trim.
- Then you can install the panels at the upper portion of the roof. You’ll clip the upper panels into the offset cleat for a concealed fastener installation.
- Secure the underlap leg of the panel with pancake screw spaced 1’0” on center, after the panel end has been hemmed and locked into the cleat.
- When you get to the end of the roof, If the last panel is wider than the remaining space that you need to fill, you will need to take off the excess of the panel. Then, field bend the edge of the panel up 1” to create a field bent rib.
We’re happy to answer any of your questions regarding this how-to or any other question about metal roof installations. Contact our installation experts to get more tips or answer your metal roofing installation questions!