Learn how to install our metal roof panels by watching the short video or reading the transcript below:
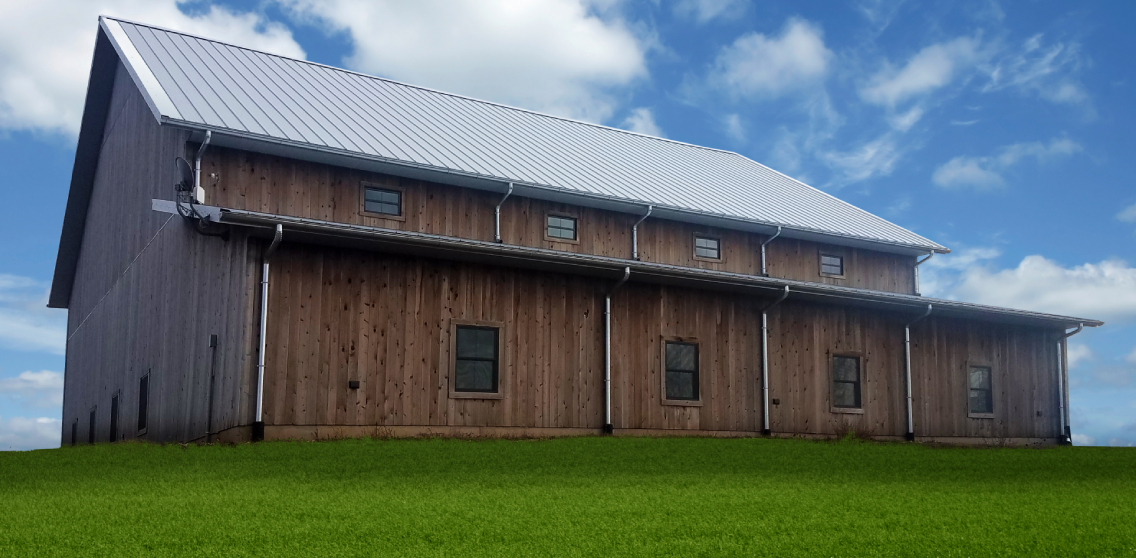
Today we will install an American Building Components’ SL-16® metal roofing panel. These instructions specifically focus on metal panel installation. To learn more about eave trim and cleat installation, view our other how-to videos. The panel used in this example is a 16-inch coverage panel with a nail flange. We will show you how to install these metal panels with both exposed fasteners and hidden fasteners.
When you’re installing a metal roofing panel, the first thing that you want to do is make sure you’re starting square. This means that your vertical lines are all running square to your eave.
It’s important to start square because if the first panel is tilted a little bit, all the panels that come after are going to be tilted as well. When you’re starting the roof, you want to square off the edge and adjust your panel if necessary. For example, if this particular roof was off a little bit, even by just half an inch, I would tilt our panel a little bit so that we ran square, starting with the first panel.
The panel we are using is too long. When you’re doing an exposed fastener eave installation, you want to overhang the eave by one and a half or two inches at most. Put your tape up against the end wall and measure down to the edge of your eave trim. For this example, it’s exactly 24 inches, and I’m going to add an inch and a half to that measurement and cut my panel to length.
To do so, flip the panel over and make marks on the reverse side. I had said that the measurement was 24 inches and that I needed to add an inch and a half to that, so I’m going to make a mark at 25.5 inches. I’m going to do the same on the other side at 25.5 inches. Using a square or a straight edge, you can then join those two lines to create your cut-line.
Next, you need to cut through the male and the female rib to get to the flat of the panel. Using my duckbill snips to ensure a nice clean edge, I’m going to come through the flat of the pan. Make sure during this process that you are wearing your gloves. Last, cut the female rib. Now we have a panel that’s been cut to 25.5 inches so that 1.5 inches can overhang at the eave, and we’re ready to install it.
This panel is 25.5 inches long so that 1.5 inches overhangs the eave, and between the eave trim and the underside of the panel, we’re going to apply one row of sealant tape. Remember, sealant tape goes between all layers of metal. Apply the sealant tape along the center of the entire eave and remove the tape backing.
Now we can install our roof panels. Make sure the panel is square to the eave of the roof so that all of panels installed afterwards are straight. Next, put a screw into the fastening strip to keep it steady before installing the screws along the face. Along the fastening strip of the SL16, always use the pancake head fastener. It’s the low-profile head that won’t dimple the next panel when it comes up, which is very important. Spaced at 12 inches from fastener to fastener, tighten them but don’t over-tighten. Over-tightening draws the panel down and puts tension into the panel.
Next you will install exposed fasteners along the center of the pan, and make sure that the fasteners thread the sealant tape beneath to create a watertight seal. The screw we will use in the center of the pan is a wood-grip. This is our neoprene washer fastener. It’s a painted fastener that matches the panel, and you’ll need to make sure that it threads the sealant tape beneath the panel. Attach three fasteners, one on each side and one in the middle. Be sure to not over-tighten the fastener. If you do, it squishes out the neoprene washer which gets exposed to the sun. This causes it to dry out and crack much faster. You can then continue to attach and install more panels until the roof is covered.
Install the offset cleat along the eave, and then you are ready to install the metal roofing panels. The offset cleat allows us to create a true hidden fastener installation. You can learn more about installing eave trim and offset cleats in another one of our metal roofing installation videos.
We will prepare the end of this panel by cutting up one inch on either side, folding under, and removing these two ribs. This will allow us to install this panel and clip it into the offset cleat, making our fasteners completely hidden.
Do this by sliding the hemming tool over and bending under one inch. This creates a true 180-degree bend. Next, cut the male rib back a quarter of an inch so that if it is sticking past a little bit, it doesn’t keep the next panel from coming up flush with the edge of the cleat.
Now that we have put the one-inch clip on the metal panel and cut the ribs back flush, we can install the panel by clipping it into the offset cleat. Slide the edge up through the offset cleat so that it is fulling engaged and flush along the edge. Make sure that the panel is sitting back from the edge of the roof by half an inch. If we were to put the cleat flush with the edge of the roof, any jogging will be visible from the ground.
Now that the panel’s been installed, put a fastener through the nailing flange using a pancake head screw. If you see that the edge of the roof is sticking up a bit, use a block of wood with a towel on it and a rubber mallet to push it down so that it’s nice and flat to the roof-bed.
Contact one of our installation experts for tips on how to install your ABC metal roofing panels.